Follow the instructions below to setup Google Voice to work with Quick Send
Step 1
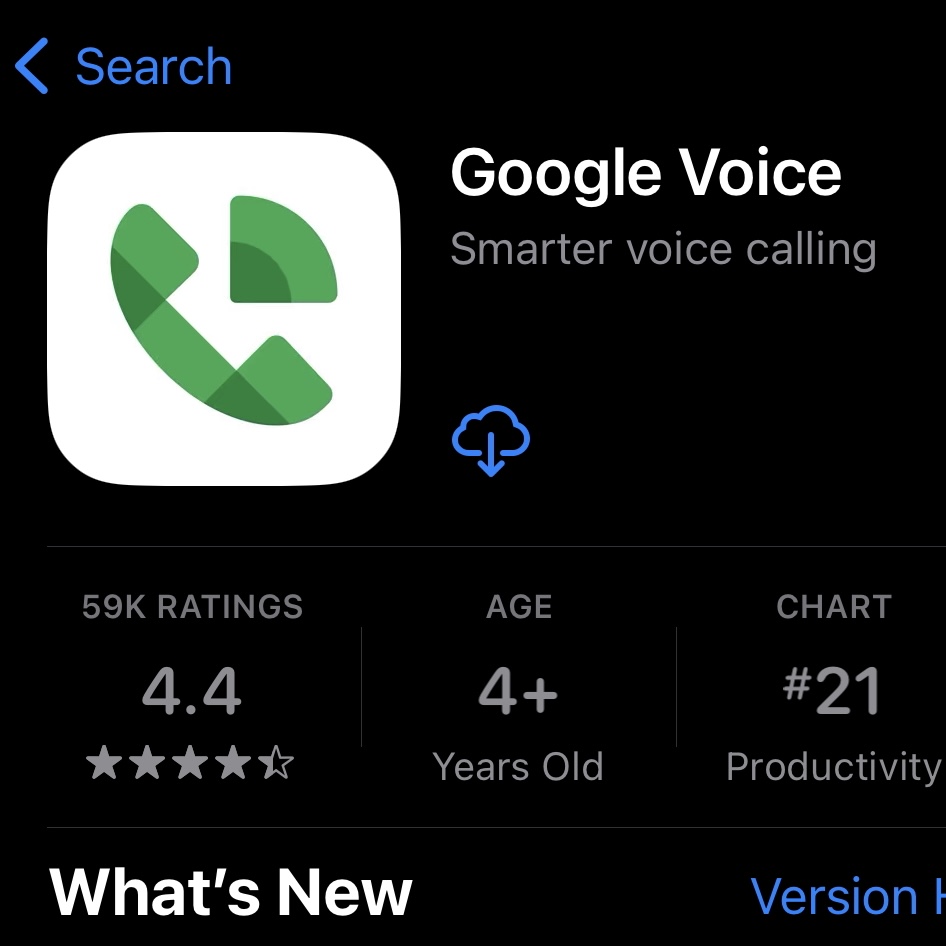
Download Google Voice on the App Store HERE.
Open Google Voice and follow their steps to setup a new number.
Step 2
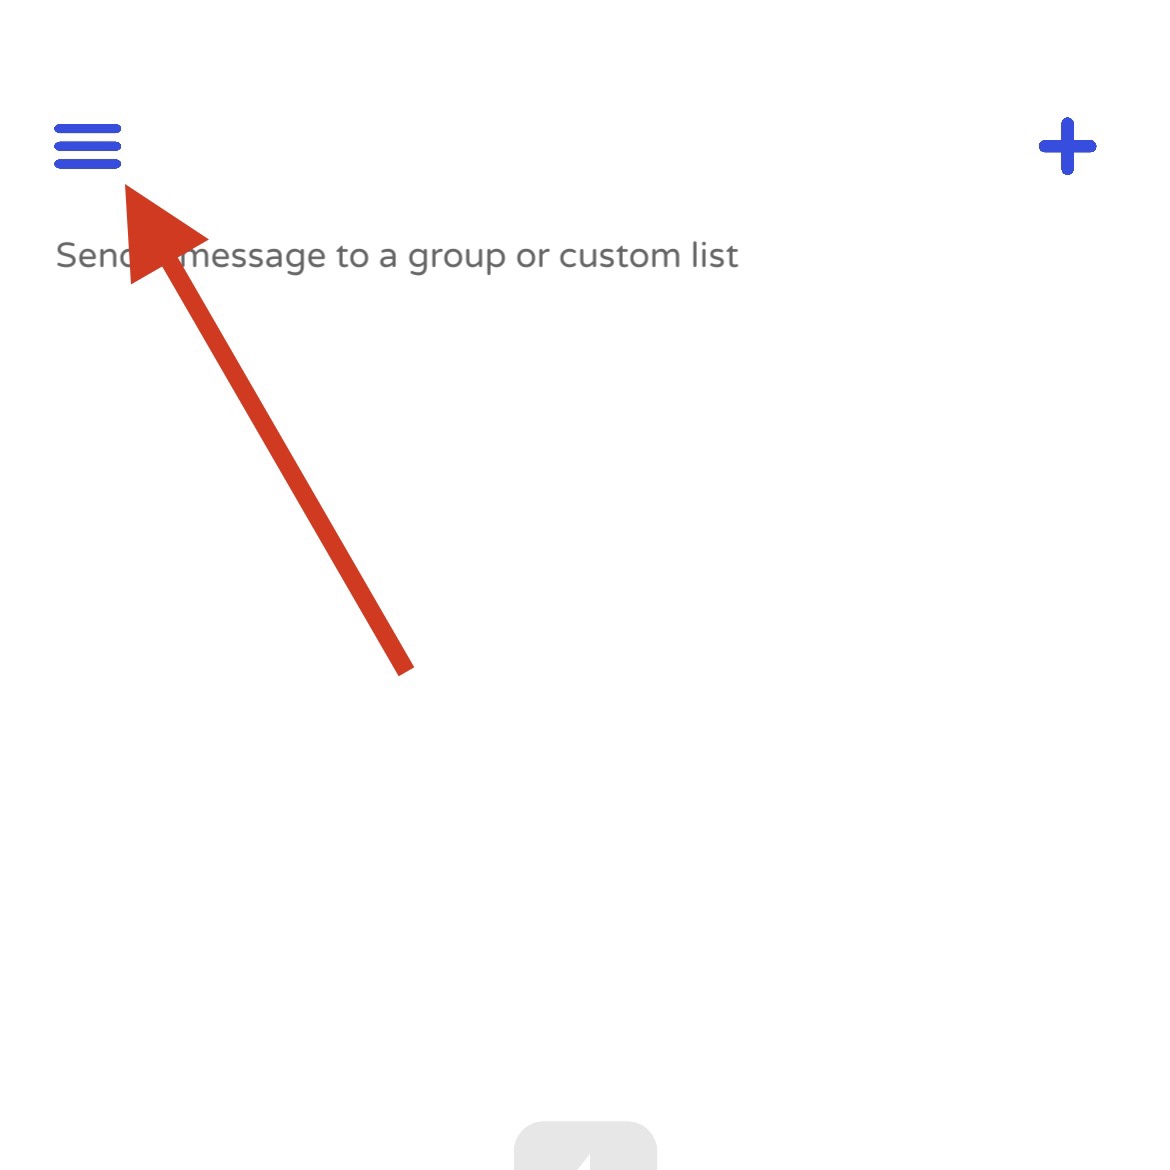
Tap the Menu button in the top left corner
of Quick Send.
Step 3
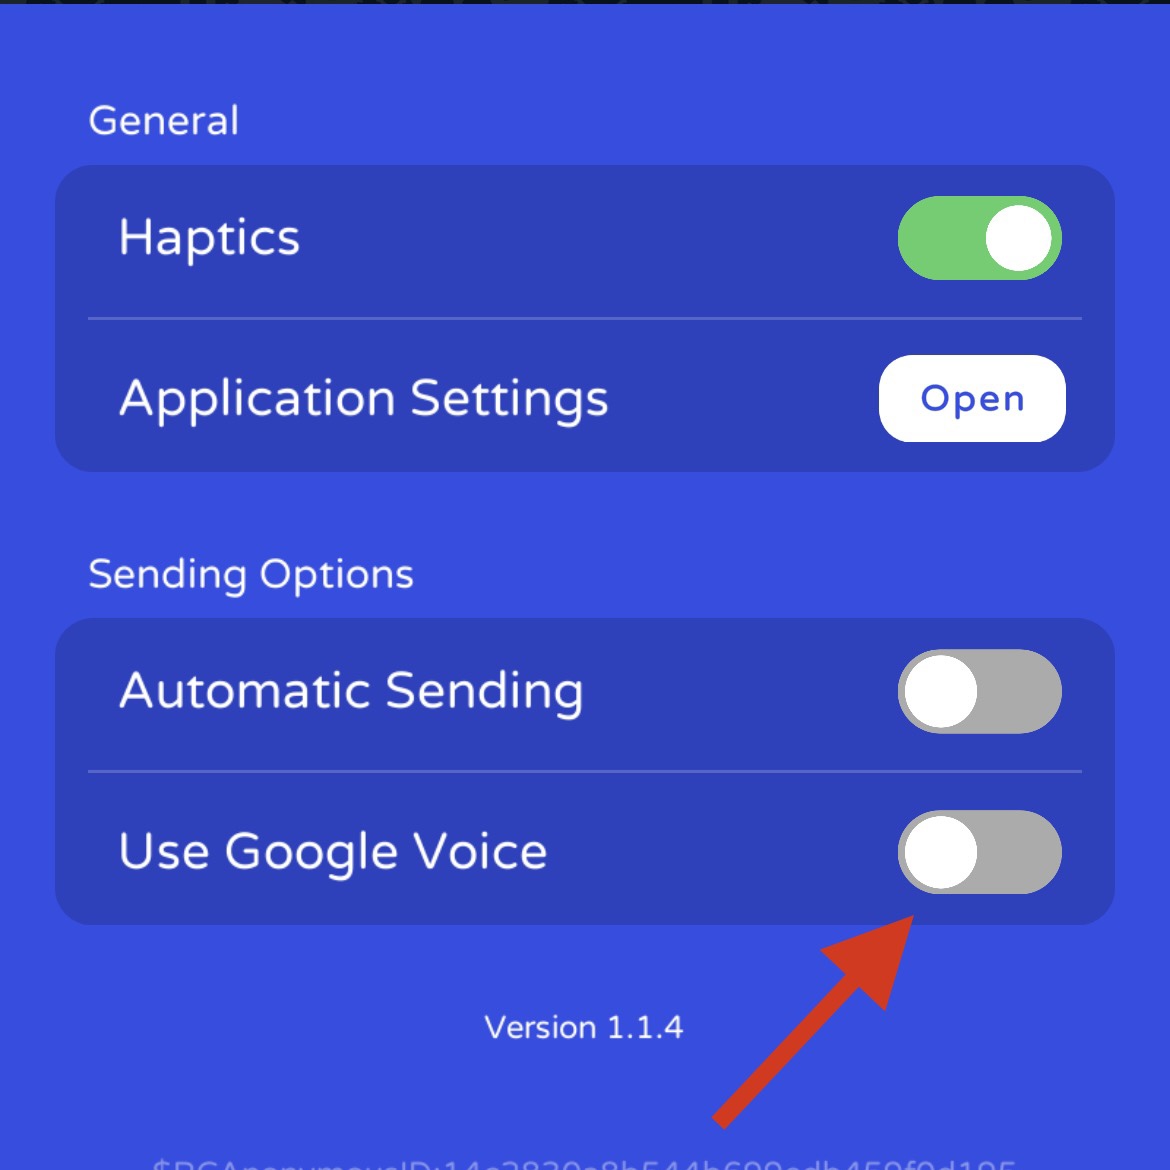
Tap “Settings”.
Then tap the “Use Google Voice” toggle.
Step 4
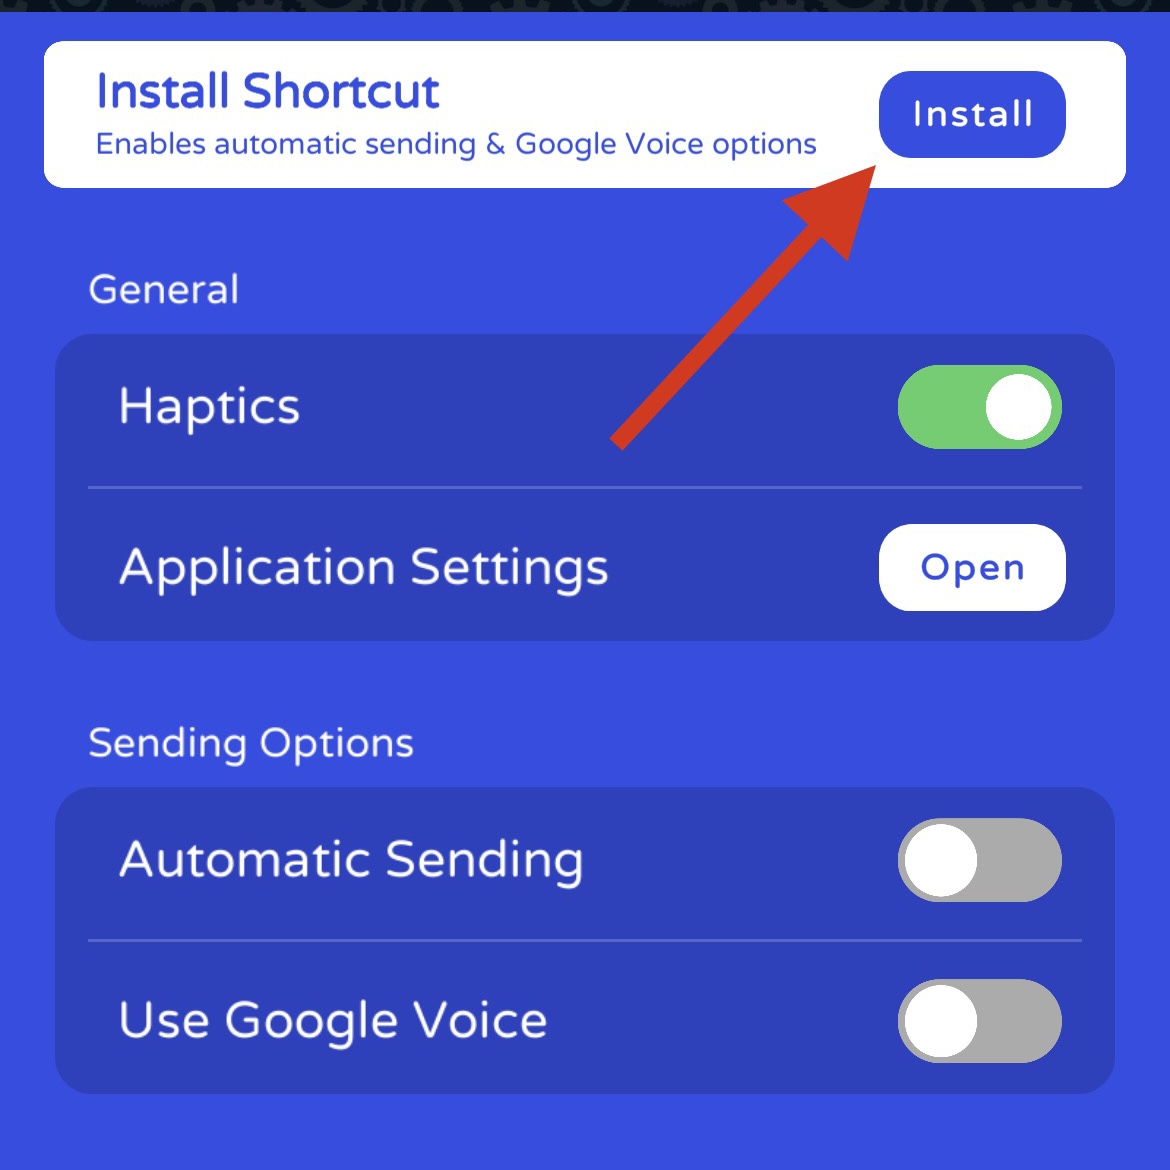
You will be prompted to install the Quick Send iOS Shortcut.
Tap “Install”.
Step 5
Install the Quick Send iOS Shortcut and return back to Quick Send.
When you return back to Quick Send, it will automatically verify the shortcut is installed.

Step 6
Enable “Use Google Voice”. Automatic sending is required to be on for Google Voice. All messages sent will now show up in Google Voice where you can reply there.
